Canvas, zoom, and grid
Click once on empty paper. A math region starts there. Double-click and you get text instead.
The page in the middle of the window holds every region at an (x, y) position with a width and a height. You can put inputs down the left and checks down the right. Scroll the page vertically. A long sheet continues onto the next printed page.
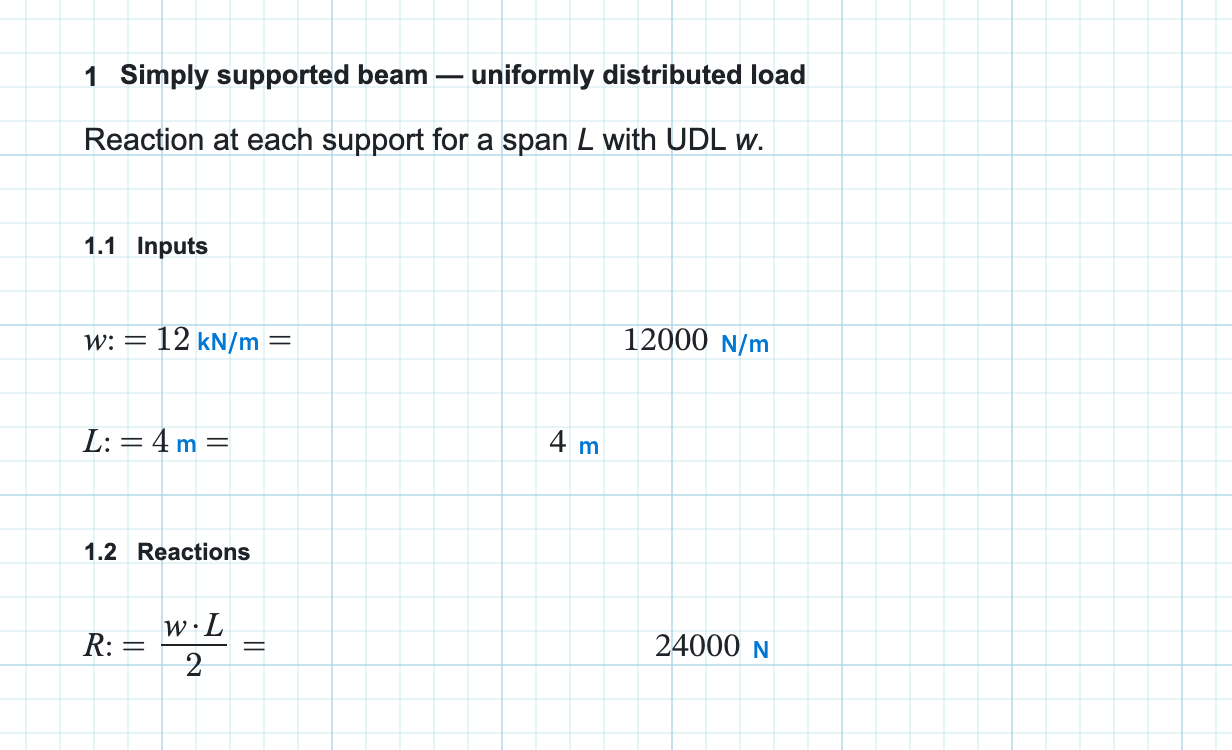
Place and move regions
- Click empty paper to insert a math region. That is the default. Double-click empty paper to insert a text region.
- A click drops a small insertion crosshair on the nearest grid intersection. The arrow keys nudge it one cell at a time. The first character you type starts the region there.
- Use Insert when you want a plot, a picture, a table, or another type, then click to place it.
- Click a region to select it. Drag its body to move it. Drag a corner or edge handle to resize it.
- Click empty paper to deselect. Esc also cancels insert mode and clears the selection.
Positions snap to the grid, so a column of assignments stays aligned. Evaluation walks the page top to bottom, then left to right. That is covered in evaluation order. Placing each region type is in insert, move, and resize.
Show or hide the grid
On the Document tab, the Canvas group has Grid and Lock. Grid shows or hides the printed grid. Lock freezes the layout so only input boxes, sliders, and dropdowns can change — see Lock format. Both settings are stored on the worksheet, so they follow the sheet to print and to anyone you share it with. Hiding the grid does not turn snapping off. Only what you see changes.
Zoom without changing the paper
Zoom scales the view and leaves the printed page size alone. There are two places to set it:
- Document tab, View group: drag the Zoom slider anywhere from 25% to 200%. The default is 85%. Two pages sits next to the slider and puts facing pages side by side, like Word — the view zooms out so both pages fit.
- Status bar, bottom right: the two-page button sits next to zoom. The − and + buttons step zoom by 5%, and clicking the percentage resets it to 85%.
Your zoom is remembered in this browser for your account, including the zoom after you turn on two-page view. Two-page view is remembered the same way. Opening the AI or Sections panel drops the sheet to 65% so the page still fits beside it, and restores your zoom when you close the panel again.
Pages, header, and footer
A sheet is a stack of pages. Keep scrolling and page 2 begins at a marked break. Turn on Two pages to see page 1 beside page 2, then 3 beside 4, and so on. Print and PDF stay one column. The Document tab shows a Header or Footer band, sets the Top and Bottom band heights, and inserts fields — Page #, Pages, Date, Title — into whichever band you are editing. Double-click the header or footer area to put the caret in it.
Print and PDF come later, under Files and sharing. The page colours come from the paper theme.